 Bitcoin(BTC)$71,361.003.80%
 Ethereum(ETH)$2,236.926.17%
 Tether(USDT)$1.00-0.01%
 XRP(XRP)$1.374.22%
 BNB(BNB)$615.552.74%
 USDC(USDC)$1.000.01%
 Solana(SOL)$84.585.99%
 TRON(TRX)$0.315605-0.18%
 Figure Heloc(FIGR_HELOC)$1.031.32%
 Dogecoin(DOGE)$0.0946504.64%
How to Activate Your Globe Prepaid eSIM in 5 Easy Steps
Globe Prepaid eSIM is your ticket to a future without fumbling with those tiny, easy-to-lose plastic SIM cards and the ridiculously small pokey tool that comes with your phone. If you’ve ever had a mini heart attack trying to switch SIMs at an airport or just wanted a separate line for your business without buying a whole new phone, you are in exactly the right place.
For years, we’ve been told that to get a new number, we needed a new piece of plastic. But what if I told you that the technology to do this has been sitting inside your phone this whole time, just waiting to be activated? That’s the magic of the eSIM.
I know what you might be thinking: “This sounds complicated. Is it going to be a tech headache?” Absolutely not! I’m here to walk you through it, friend to friend. We’re going to break down how to activate your Globe Prepaid eSIM into five simple, no-sweet steps. By the end of this guide, you’ll be an eSIM pro, wondering why you didn’t make the switch sooner. Let’s get started!
Hold Up! What’s an eSIM and Why Should You Even Care?
Before we dive into the “how-to,” let’s quickly cover the “what” and the “why.” Think of a regular SIM card. It’s a physical chip that you have to insert into your phone. An eSIM, on the other hand, is an embedded Subscriber Identity Module. It’s a tiny chip that’s already built right into your phone’s motherboard by the manufacturer.
Instead of a physical card, an eSIM works by downloading a digital “SIM profile” directly to your device. This profile is what connects you to the Globe network, just like a physical SIM would.
So, why is this a big deal? Here are the game-changing benefits of a Globe Prepaid eSIM:
- Dual SIM Powerhouse: Most modern phones are eSIM compatible, which means you can have your physical SIM slot and an active eSIM running at the same time. This is perfect for having a personal number and a work number on one device. No more carrying two phones!
- Travel Made Easy: Are you a frequent traveler? An eSIM is your new best friend. You can keep your primary physical SIM in your phone and purchase a local Globe Prepaid eSIM the moment you land in the Philippines, getting you connected instantly without paying for crazy roaming charges.
- Instant Gratification: You can literally buy and activate a Globe Prepaid eSIM from the comfort of your couch at 11 PM. There’s no need to go to a physical store (though you can if you want to), wait in line, or find a SIM ejector tool.
- Enhanced Security: If your phone is ever lost or stolen, thieves can’t simply remove your physical SIM card to take over your number. Your eSIM profile is digitally secured and can’t be removed without your phone’s password.
Before you get too excited, the first and most important thing to check is whether your device is eSIM-compatible. Most flagship phones released from 2018 onwards are, including iPhones (starting with the XS/XR series), Samsung Galaxy S-series (from S20 onwards), and Google Pixels (from Pixel 3 onwards). A quick Google search of “[Your Phone Model] eSIM compatibility” will give you a definite answer.
Alright, with that foundation laid, let’s get to the main event.
Your 5-Step Activation Guide: From Zero to Connected
Grab your phone, a cup of coffee, and let’s get this done. This process is incredibly straightforward.
Step 1: Get Your Hands on That Golden QR Code
The entire activation process hinges on one thing: a QR code. This little black-and-white square is the key that holds your digital SIM profile. Think of it as the digital version of the plastic frame you pop your SIM card out of. You have two main ways to get it:
- Online (The Cozy Method): The easiest way is through the GlobeOne app. If you don’t have it yet, download it—it’s a must-have for any Globe user. Inside the app, you can navigate to the section for ordering a SIM, select the Globe Prepaid eSIM, and purchase it. After a successful payment, Globe will send an email to your registered address containing the sacred QR code. You can also do this via the official Globe Online Shop.
- Offline (The Traditional Method): If you prefer a face-to-face transaction or need some assistance, you can simply walk into any Globe Store. Just tell the staff you’d like to purchase a Globe Prepaid eSIM. They’ll give you a small card with the QR code printed on it. It’s that simple.
Pro-Tip: Once you receive that email with the QR code, do not delete it after activation! It’s your only copy. I’d recommend taking a screenshot and saving it to a secure cloud folder, just in case you need it for reference later.
Step 2: Prep Your Phone and Connect to Wi-Fi
This step is so simple, but it’s the one people often forget, leading to frustration. Before you scan anything, you absolutely must be connected to a stable Wi-Fi network.
Why? Because your phone needs an internet connection to download the eSIM profile from Globe’s servers. You can’t use mobile data from your other SIM to do this. Your phone is essentially reaching out to Globe’s network via Wi-Fi and saying, “Hey, I have this QR code, please send me the digital SIM that goes with it.”
So, find a good Wi-Fi spot, connect your phone, and make sure the signal is strong. This will ensure the download is smooth and prevents any errors during the installation of your Globe Prepaid eSIM profile.
Step 3: Scan the QR Code and Install Your eSIM
Alright, this is the magic moment! You’ve got your QR code and a solid Wi-Fi connection. It’s time to introduce them to each other. The process is slightly different for iOS and Android, but the principle is the same.
For iPhone Users:
- Go to Settings.
- Tap on Cellular.
- Tap on Add eSIM.
- Your phone will prompt you to either transfer from a nearby iPhone or Use QR Code. Tap Use QR Code.
- Your camera will open up. Simply point it at the QR code you received from Globe. Hold it steady for a second, and it’ll read it instantly.
- Your phone will say “Activating eSIM…”—give it a minute. Once done, you’re pretty much there!
For Android Users (Samsung, Google Pixel, etc.):
- Go to Settings.
- Tap on Connections (or Network & Internet).
- Tap on the SIM card manager.
- Tap on + Add eSIM.
- It will search for a bit and then give you the option to Scan QR code from service provider.
- Just like with an iPhone, your camera will open. Scan the QR code.
- Follow the on-screen prompts to confirm and add the mobile plan.
That’s it! Your phone has now downloaded and installed your new digital SIM. You should see a new set of signal bars appear at the top of your screen.
Step 4: Label Your Lines and Set Your Defaults
Now that you have two active lines on your phone (your primary SIM and your new eSIM), your phone will ask you to organize them. This is where the real convenience of dual SIM comes in.
You can label your plans to avoid confusion. For example:
- Primary and Secondary
- Personal and Business
- Globe Physical and Globe eSIM
After labeling, you get to choose your default lines for different actions:
- Default Voice Line: Which number do you want to use for making most of your calls? You can set it to “Personal,” “Business,” or have your phone ask you every time you make a call.
- Default for Messages: Same thing for iMessage (on iPhone) and SMS/RCS (on Android).
- Default for Mobile Data: This is a big one. You can choose which SIM your phone should use for mobile data. This is fantastic for taking advantage of data-only promos on one line while keeping your other line for calls and texts.
Take a minute to set these up properly. It will make managing your dual SIM life a breeze.
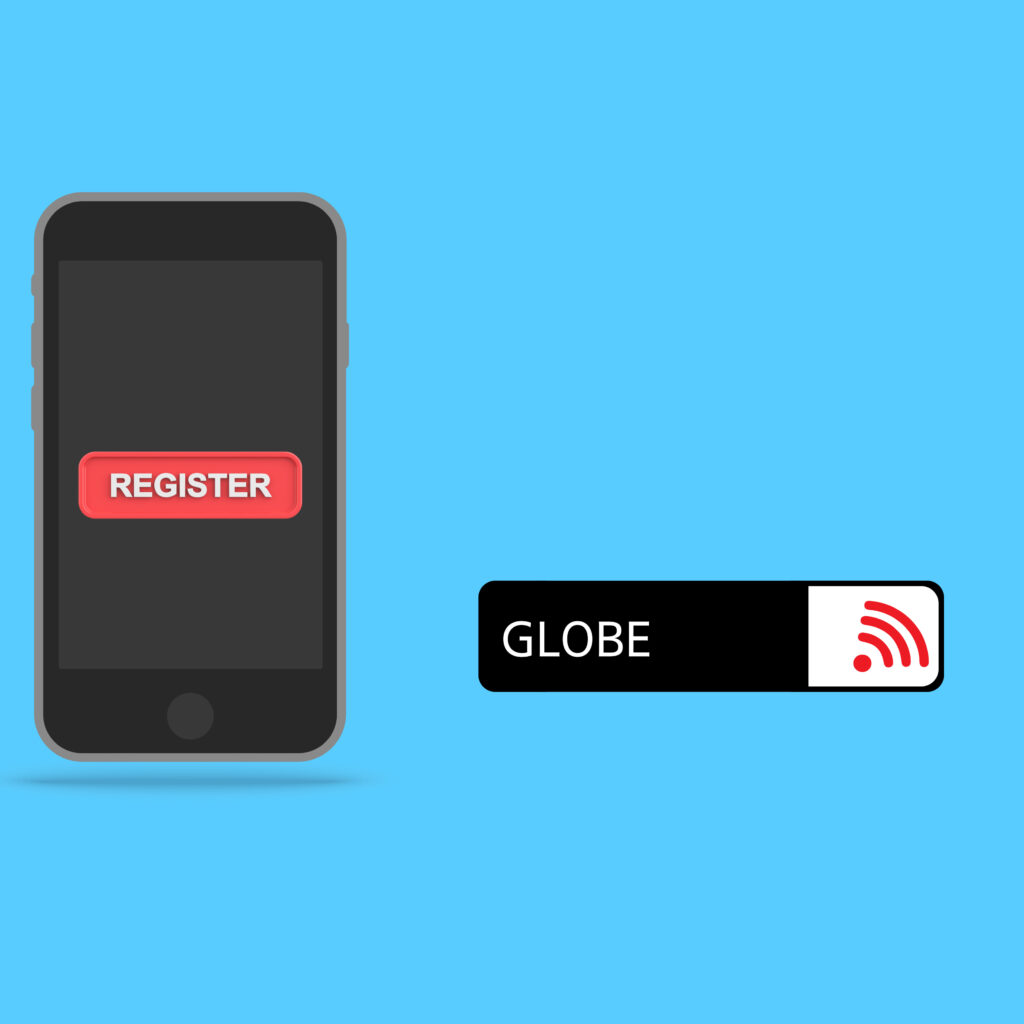
Step 5: Register Your New SIM and Load It Up!
You’re so close! The final and most crucial step is to register your new Globe Prepaid eSIM to comply with the Philippines’ SIM Registration Act. Your new eSIM won’t be able to make calls, send texts, or use data until you complete this step.
Globe will send you a text message with a link to their registration portal. The process is straightforward and usually involves providing a valid ID and taking a selfie. It’s a legal requirement, and it’s for your own security. The process is very similar whether you’re using Globe or you’re looking for the tm registration sim link, as both fall under the same network infrastructure and legal mandates.
Once your registration is approved (which is often instant), you’re officially good to go!
Now, all that’s left is to load up your new number. You can easily do this through the GlobeOne app, GCash, or any other loading station. Just enter your new eSIM number, choose your favorite promo, and you are 100% ready to enjoy your new digital line.
Don’t Just Take My Word for It: What the Experts Say
The move to eSIM technology isn’t just a local trend; it’s a global shift. Tech experts have been praising its convenience and security for years.
According to a report from GSMA Intelligence, the global adoption of eSIM technology is projected to skyrocket, becoming the dominant SIM technology in the coming years. They highlight its benefits for both consumers and network operators.
Here in the Philippines, local tech authority Unbox.ph has frequently covered the rollout of eSIMs, noting, “The convenience of activating a line without visiting a store is a massive advantage in today’s digital-first world. For Filipinos who juggle multiple responsibilities, having a dual SIM setup on a single device through an eSIM is a productivity game-changer.”
This sentiment shows that the Globe Prepaid eSIM isn’t just a novelty; it’s a practical tool designed for modern life.
The Classic Showdown: eSIM vs. Physical SIM
So, is the eSIM definitively better than the trusty old physical SIM? Let’s compare them, not with a boring table, but with a friendly face-off.
In the corner of Convenience, the eSIM lands a knockout. You can acquire and activate it entirely online, anytime, anywhere. The physical SIM requires you to either wait for a delivery or go out to a store. For sheer speed and ease, the Globe Prepaid eSIM is the undisputed champion.
When it comes to Travel, the eSIM is a globetrotter’s dream. Imagine landing in a new country, connecting to the airport Wi-Fi, and activating a local data plan before you even get to baggage claim. You can do that with an eSIM while keeping your primary number active for important calls or texts. A physical SIM requires you to swap cards, potentially misplacing your home SIM.
In the Security round, the eSIM wins again. A stolen phone with an eSIM is more secure because the SIM profile cannot be physically removed and used in another device. A thief could easily pop out a physical SIM and potentially gain access to accounts linked to that number.
However, the physical SIM gets a point back in the Phone Switching category. If you want to move your number to a new phone, you can just pop the physical SIM out and put it in the new device. Easy. With an eSIM, you have to contact Globe to request a new QR code for your new device, which involves a bit more process. It’s a small trade-off for the added security, and it’s a factor to consider, especially as new devices under a globe device plan increasingly adopt the eSIM-only model.
Your Burning Questions, Answered!
- Can I convert my existing physical Globe Prepaid SIM to an eSIM? Yes! You can visit a Globe Store, and they will assist you in converting your number from a physical SIM to an eSIM. You get to keep your beloved number.
- What happens if I accidentally delete my eSIM profile? Don’t panic! This is why you saved that QR code email. You can try re-scanning the QR code. If that doesn’t work, you’ll need to contact Globe support for assistance, and they can help you get it re-activated.
- Can I use two Globe Prepaid eSIMs at the same time? Most phones only allow one eSIM to be active at a time, alongside a physical SIM. However, you can store multiple eSIM profiles on your phone and switch between them as needed.
Welcome to the Future of Connectivity
And there you have it! Five simple steps to activating your Globe Prepaid eSIM and embracing a more streamlined, secure, and flexible mobile experience. It might seem like a small change, but once you experience the convenience of a digital SIM, you’ll find it hard to go back.
So, what are you waiting for? Ditch the plastic and go digital. Your phone is ready for it. Now, you are too.
